


Need a silver lining story? Here’s one: If it weren’t for Hurricane Katrina, Katie and Scott would have never met. When the cataclysmic storm him during Katie’s freshman year at Tulane University,...
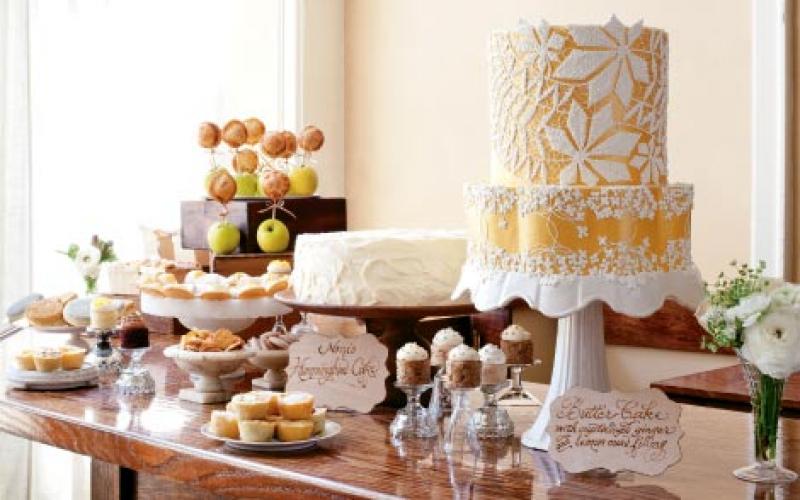
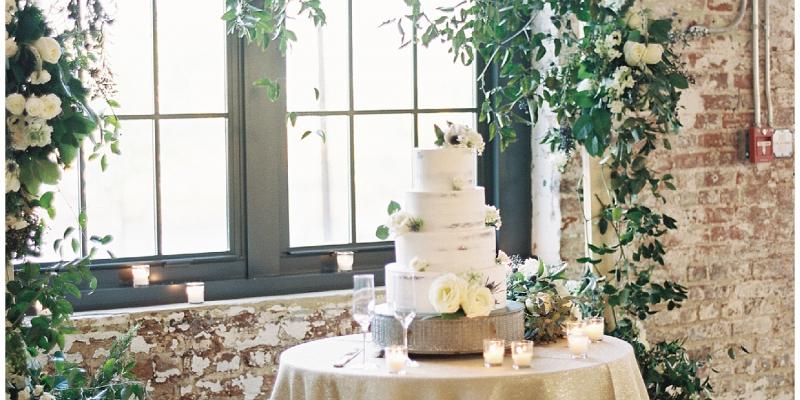
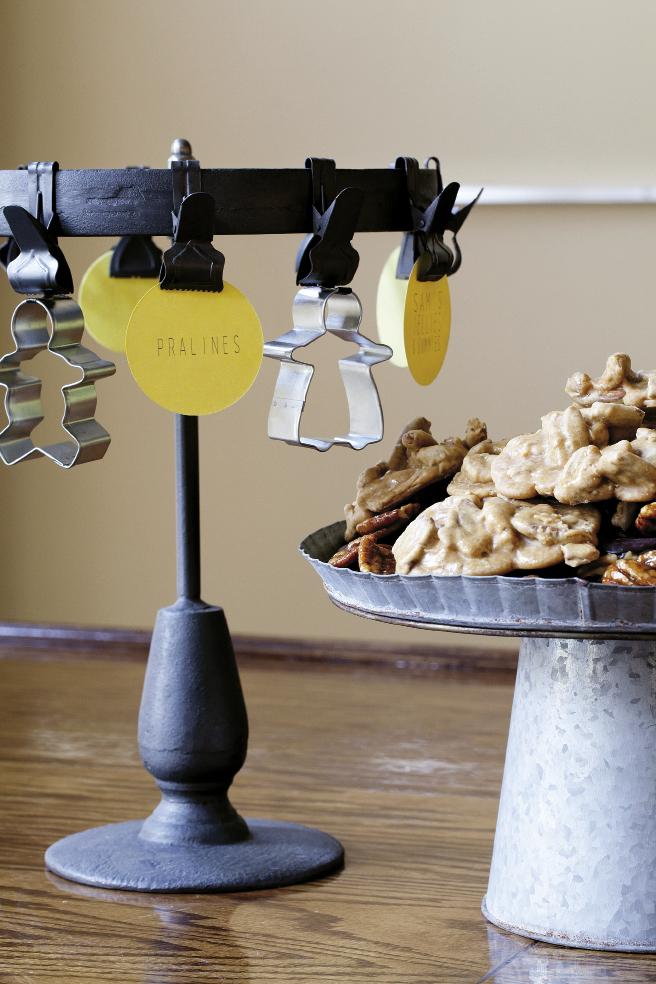
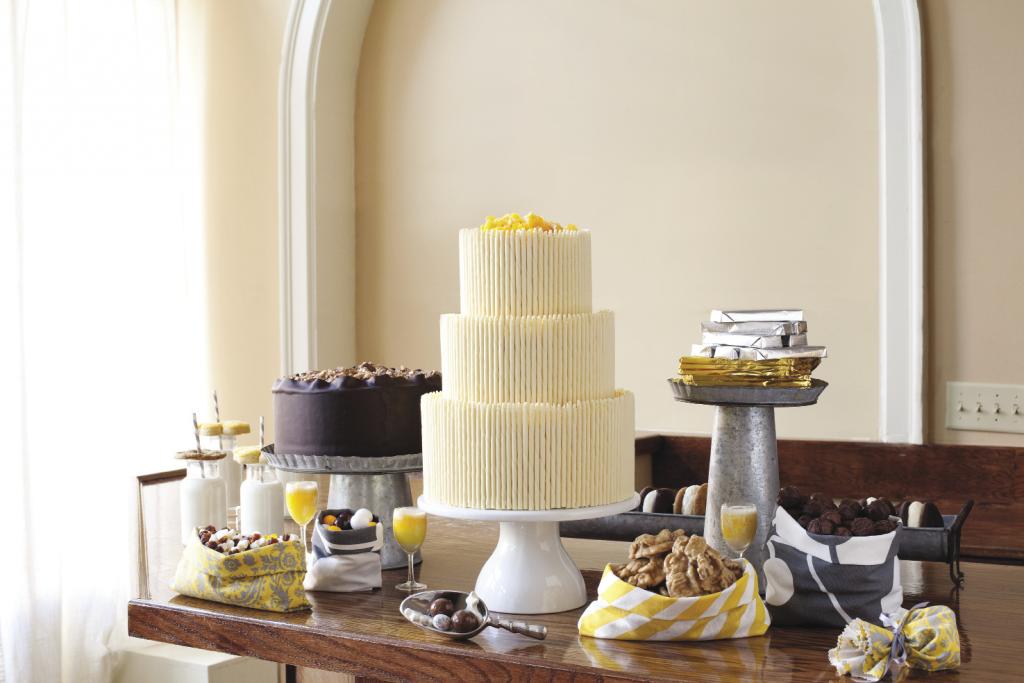
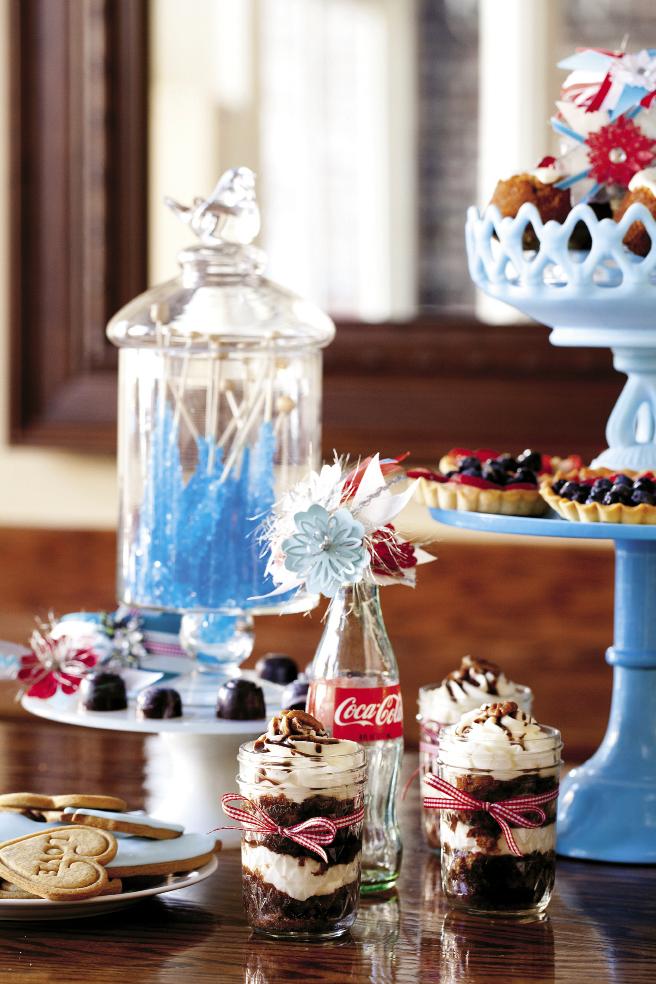
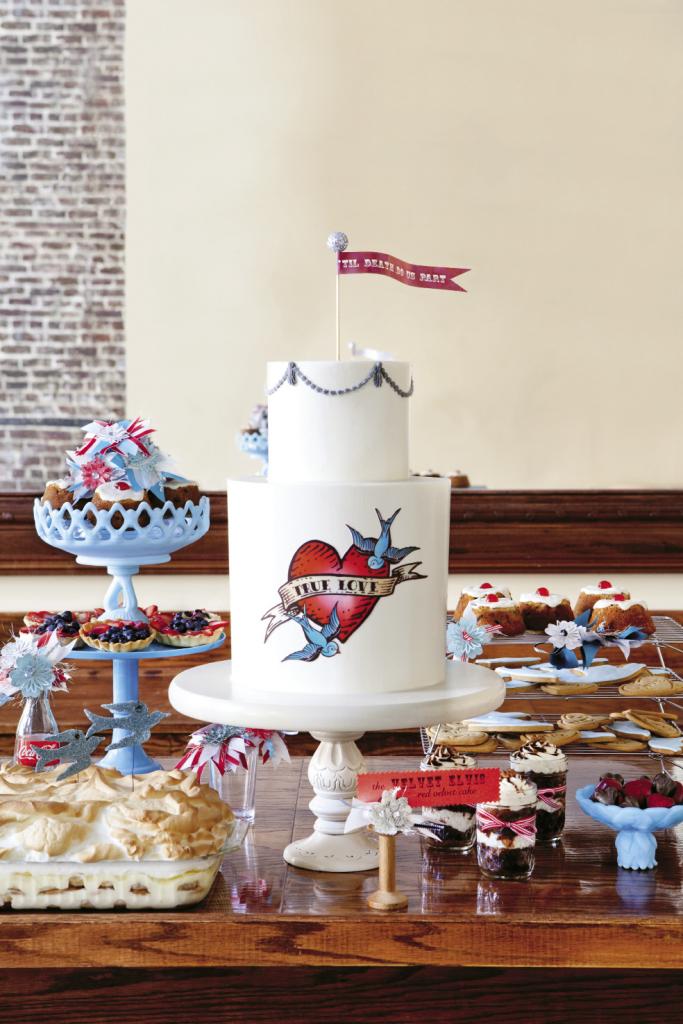
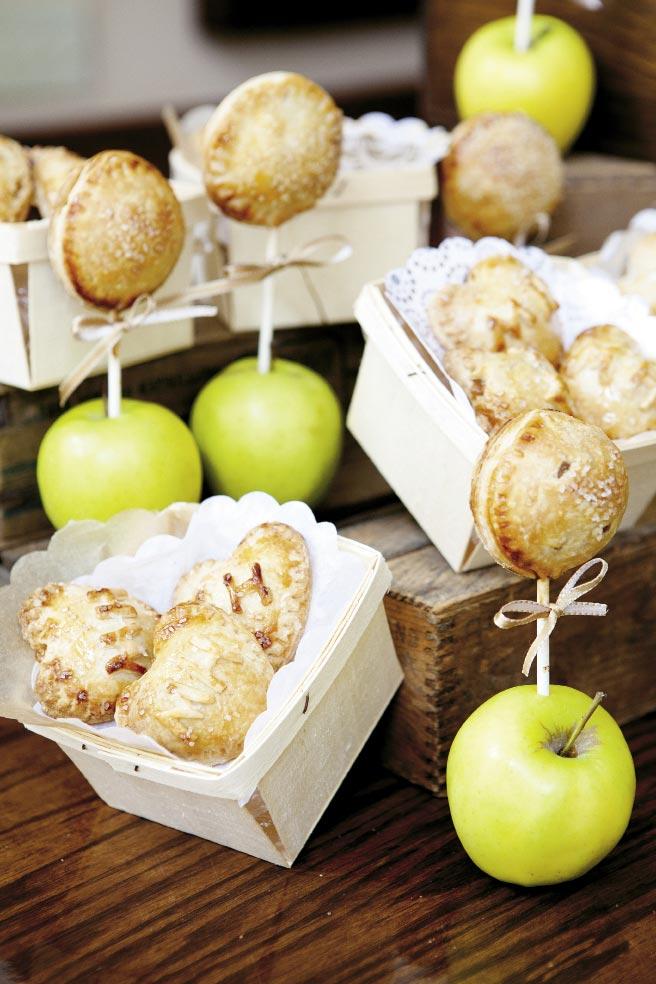
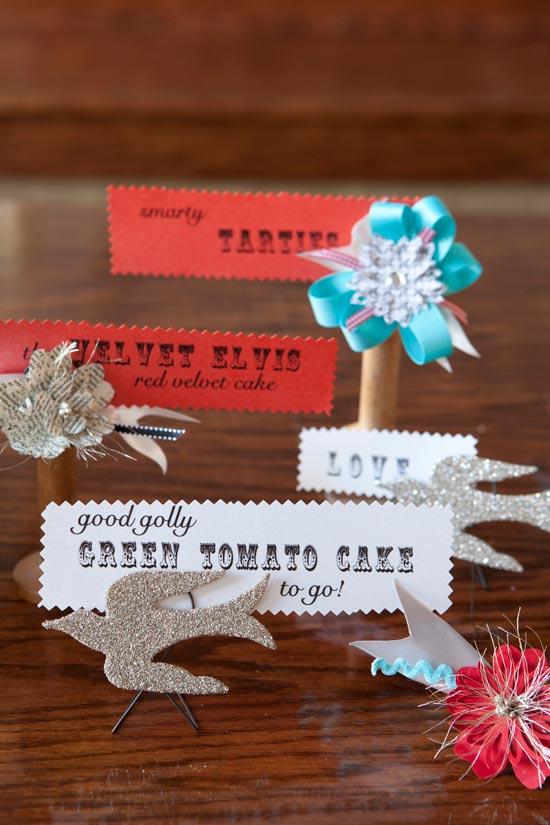
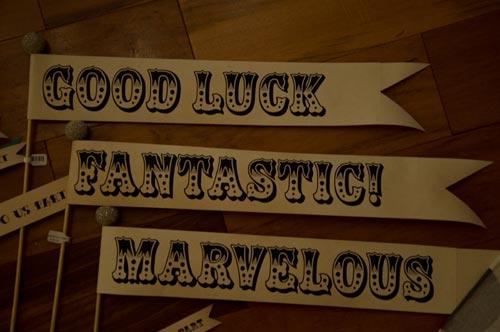
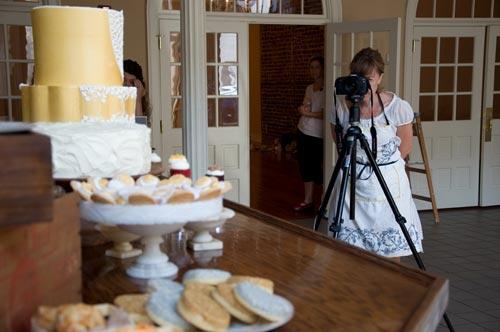
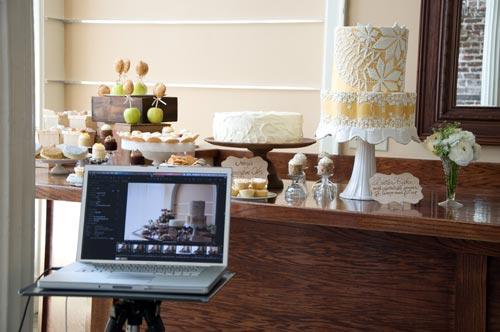
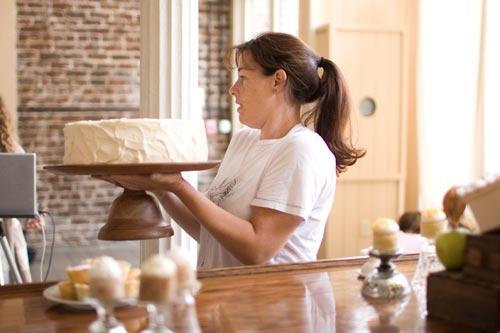
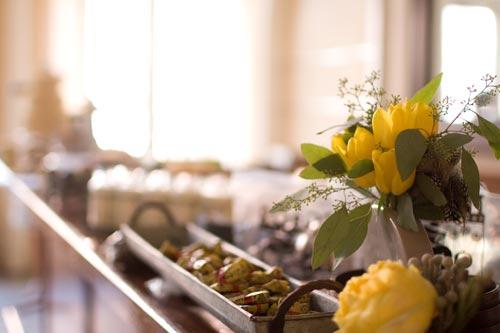
Two swatches of Deco-era lace inspired the wedding cake by Wedding Cakes by Jim Smeal. Its flaxen gold base created a terrific backdrop for the snow white piping. The Village Bakery & Café tackled the groom’s cake, making a 12-inch, three-layer hummingbird cake iced in cream-cheese frosting. Calligrapher Elizabeth Porcher Jones wrote the names of the sweets on hand-cut wood veneer labels with a burn pen.
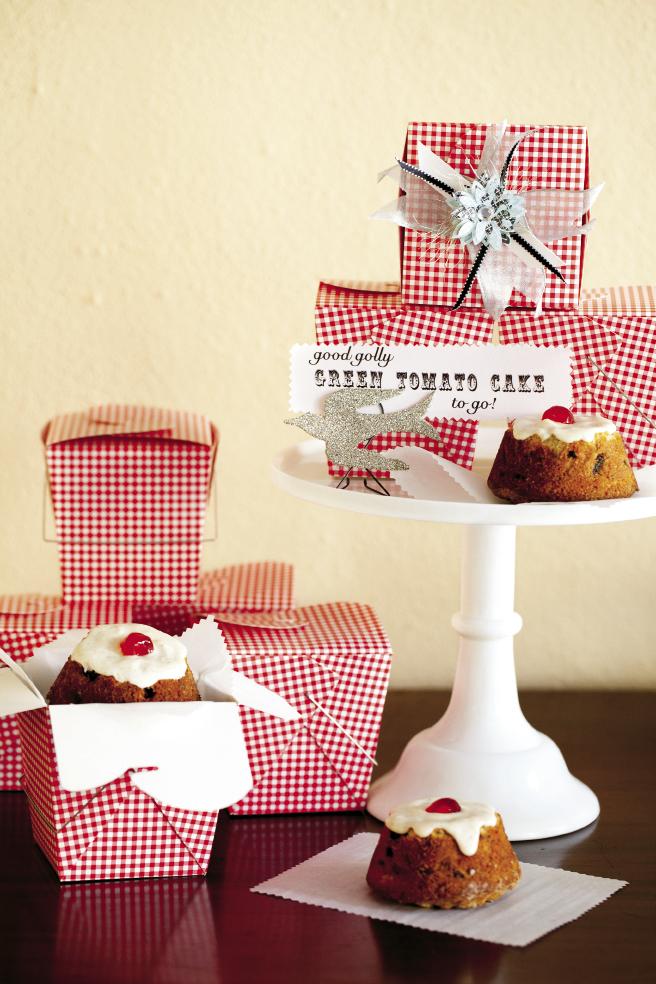
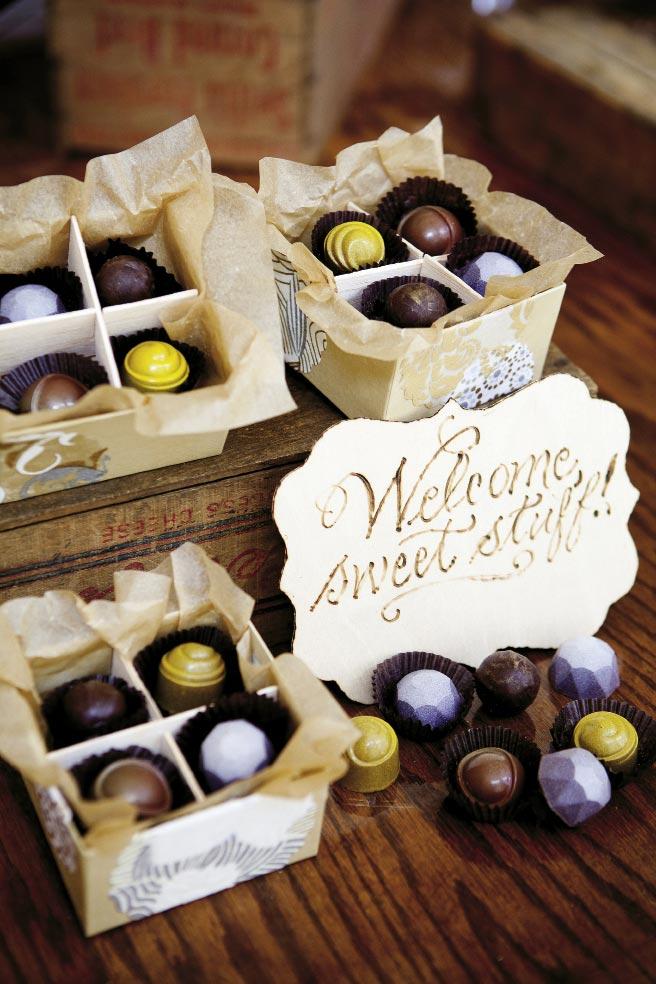
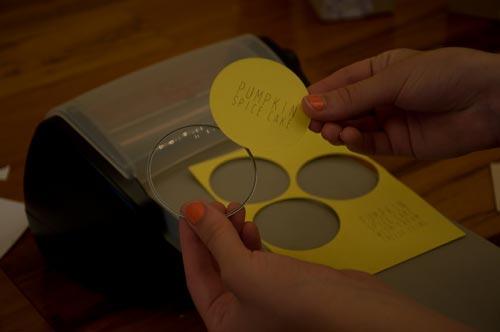
Dessert Signage
• 2 8mm-thick sheets of birch veneer (available from Michael’s)
• Template shape to trace
• Burn pen
• X-acto knife and cutting board
• Scissors
• Pencil
Outline the shape of your template with a pencil, and repeat to fill your sheet. Cut around your outline with scissors, use the X-acto knife to cut small spaces. Once cut out completely, burn edges with burn pen to smooth out your cut and give it an antiqued effect. Write dessert name in pencil then trace text with burn pen.
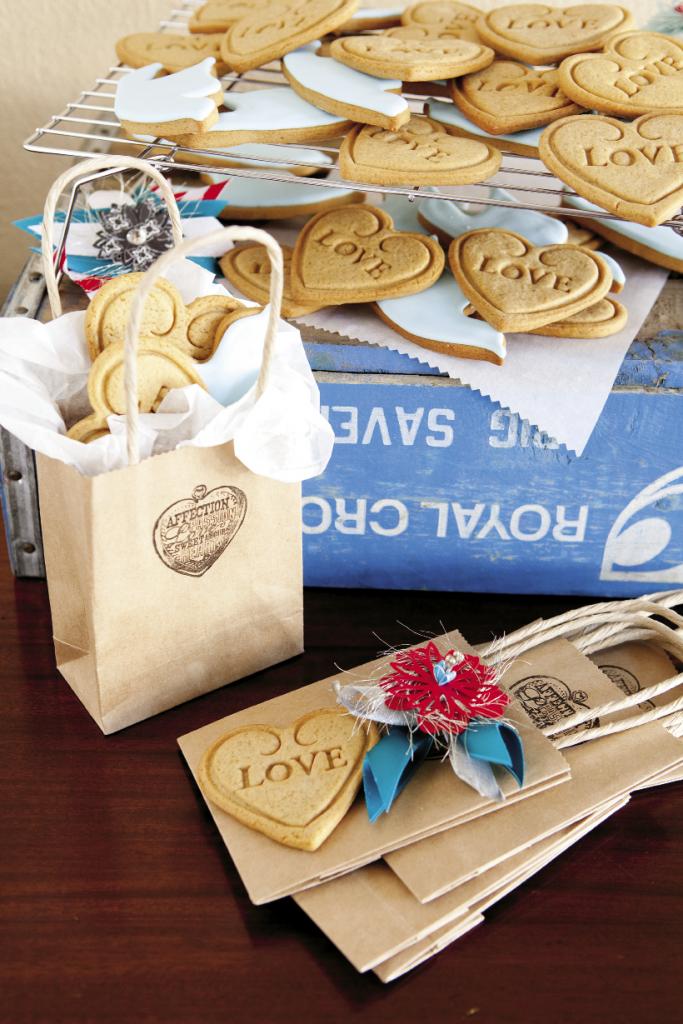
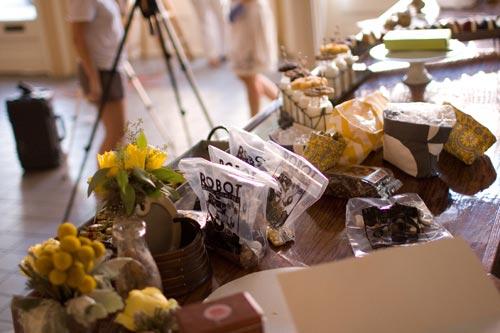
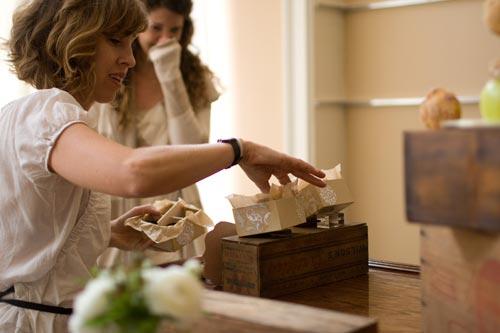
Découpaged Welcome Favor Boxes
Makes one dozen boxes
• 12 kraft-colored square jewelry boxes, 2” deep
• 3-4 sheets of decorative paper in coordinating colors (one semi-opaque)
• Scissors or die cut machine
• Matte Mod Podge
• Med-size paintbrush
Cut out about 100 pieces of paper in your chosen shape(s) with scissors or die cut machine. Using Mod Podge, generously cover one area of your box. While still wet, place one cut sheet on the box and cover with more Mod Podge. Repeat step 2 and 3, overlapping pieces, until desired look is reached.
Wire Family Cake Topper
To create your own copper topper, buy bendable wire from a craft store then use a jewelry-sized set of needle-nose pliers to shape and form a family (for a wedding that creates a blended family), a bride and groom, or a word, like “love.”
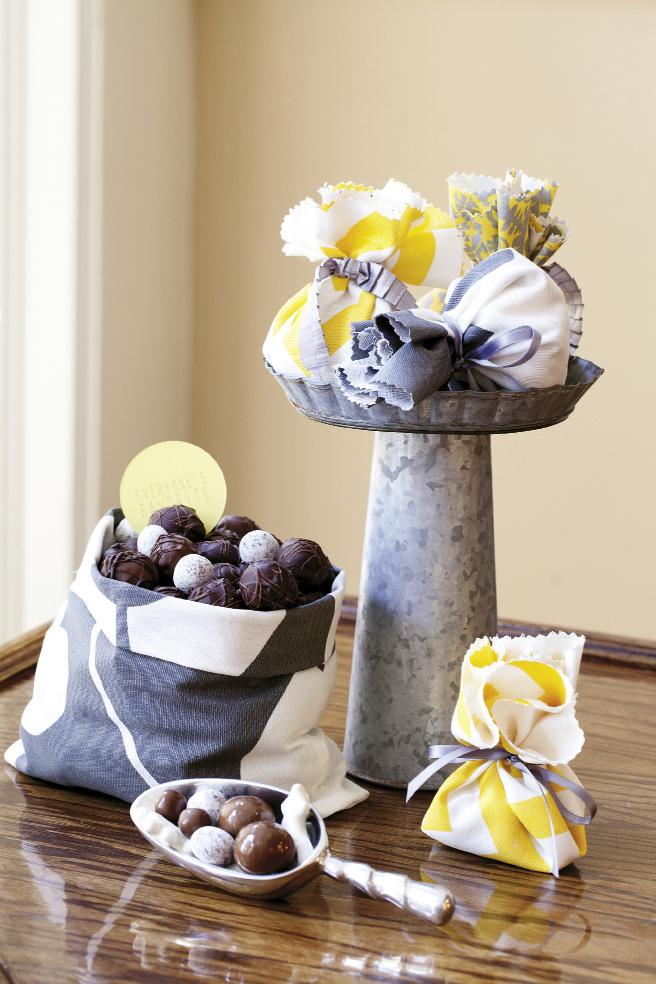
Cloth To-Go Candy Bags
(makes 24 bags)
• 1 yard of 3 different fabrics in coordinating colors (makes about 24)
• 12-14” dinner plate or circular object to use as template
• 7 yards of ribbon (ties 24)
• Pinking shears
• Seven or so cotton balls for batting
Trace circle template on fabric (8 fits comfortably on 1 yard). Cut out each circle with pinking shears. Cut 10” strips of ribbon to use for ties. Create one example by placing cotton balls in middle of circle and bring up edges to gather at top, then secure with ribbon. Place a small sign encouraging guests to “pack their bags” with candy.
Shot on location at Marion’s on East Bay